如何通过 Docker Desktop 在本地安装/部署 n8n
Updated on

什么是 n8n?
n8n 是一个 开源的工作流自动化平台,允许用户通过 可视化界面 创建、管理和执行各种自动化工作流。作为一个强大的“无代码/低代码”工具,n8n 的核心优势包括:
- 节点式编程:通过拖拽并连接不同的功能节点来构建工作流,无需编写大量代码。
- 广泛集成:支持集成 200+ 种常用应用和服务,如 Airtable、Google Sheets、Slack、GitHub 等。
- 自托管部署:与许多同类工具不同,n8n 可以完全自托管,确保数据隐私和安全。
- 可扩展性:支持自定义节点开发,几乎可以集成任何系统或服务。
- 公平代码模式:采用特殊的开源许可证,在保证代码开放的同时支持项目的可持续发展。
在本地使用 Docker 部署 n8n
在深入操作步骤之前,让我们先了解为什么选择用 Docker 部署 n8n:
- 环境隔离:Docker 容器提供隔离的运行环境,避免与宿主机系统依赖冲突。
- 简化部署:无需手动安装 Node.js、数据库等依赖,一条命令即可启动完整环境。
- 版本管理:方便对 n8n 版本进行精确控制和升级管理。
- 跨平台一致性:无论是在 Windows、macOS 还是 Linux 上,Docker 都能保证一致的运行体验。
- 适合开发测试:本地部署方便开发者进行快速迭代和工作流测试。
- 局限性:n8n 无法回调公网上的第三方服务,也无法提供 Webhook 给第三方服务触发。
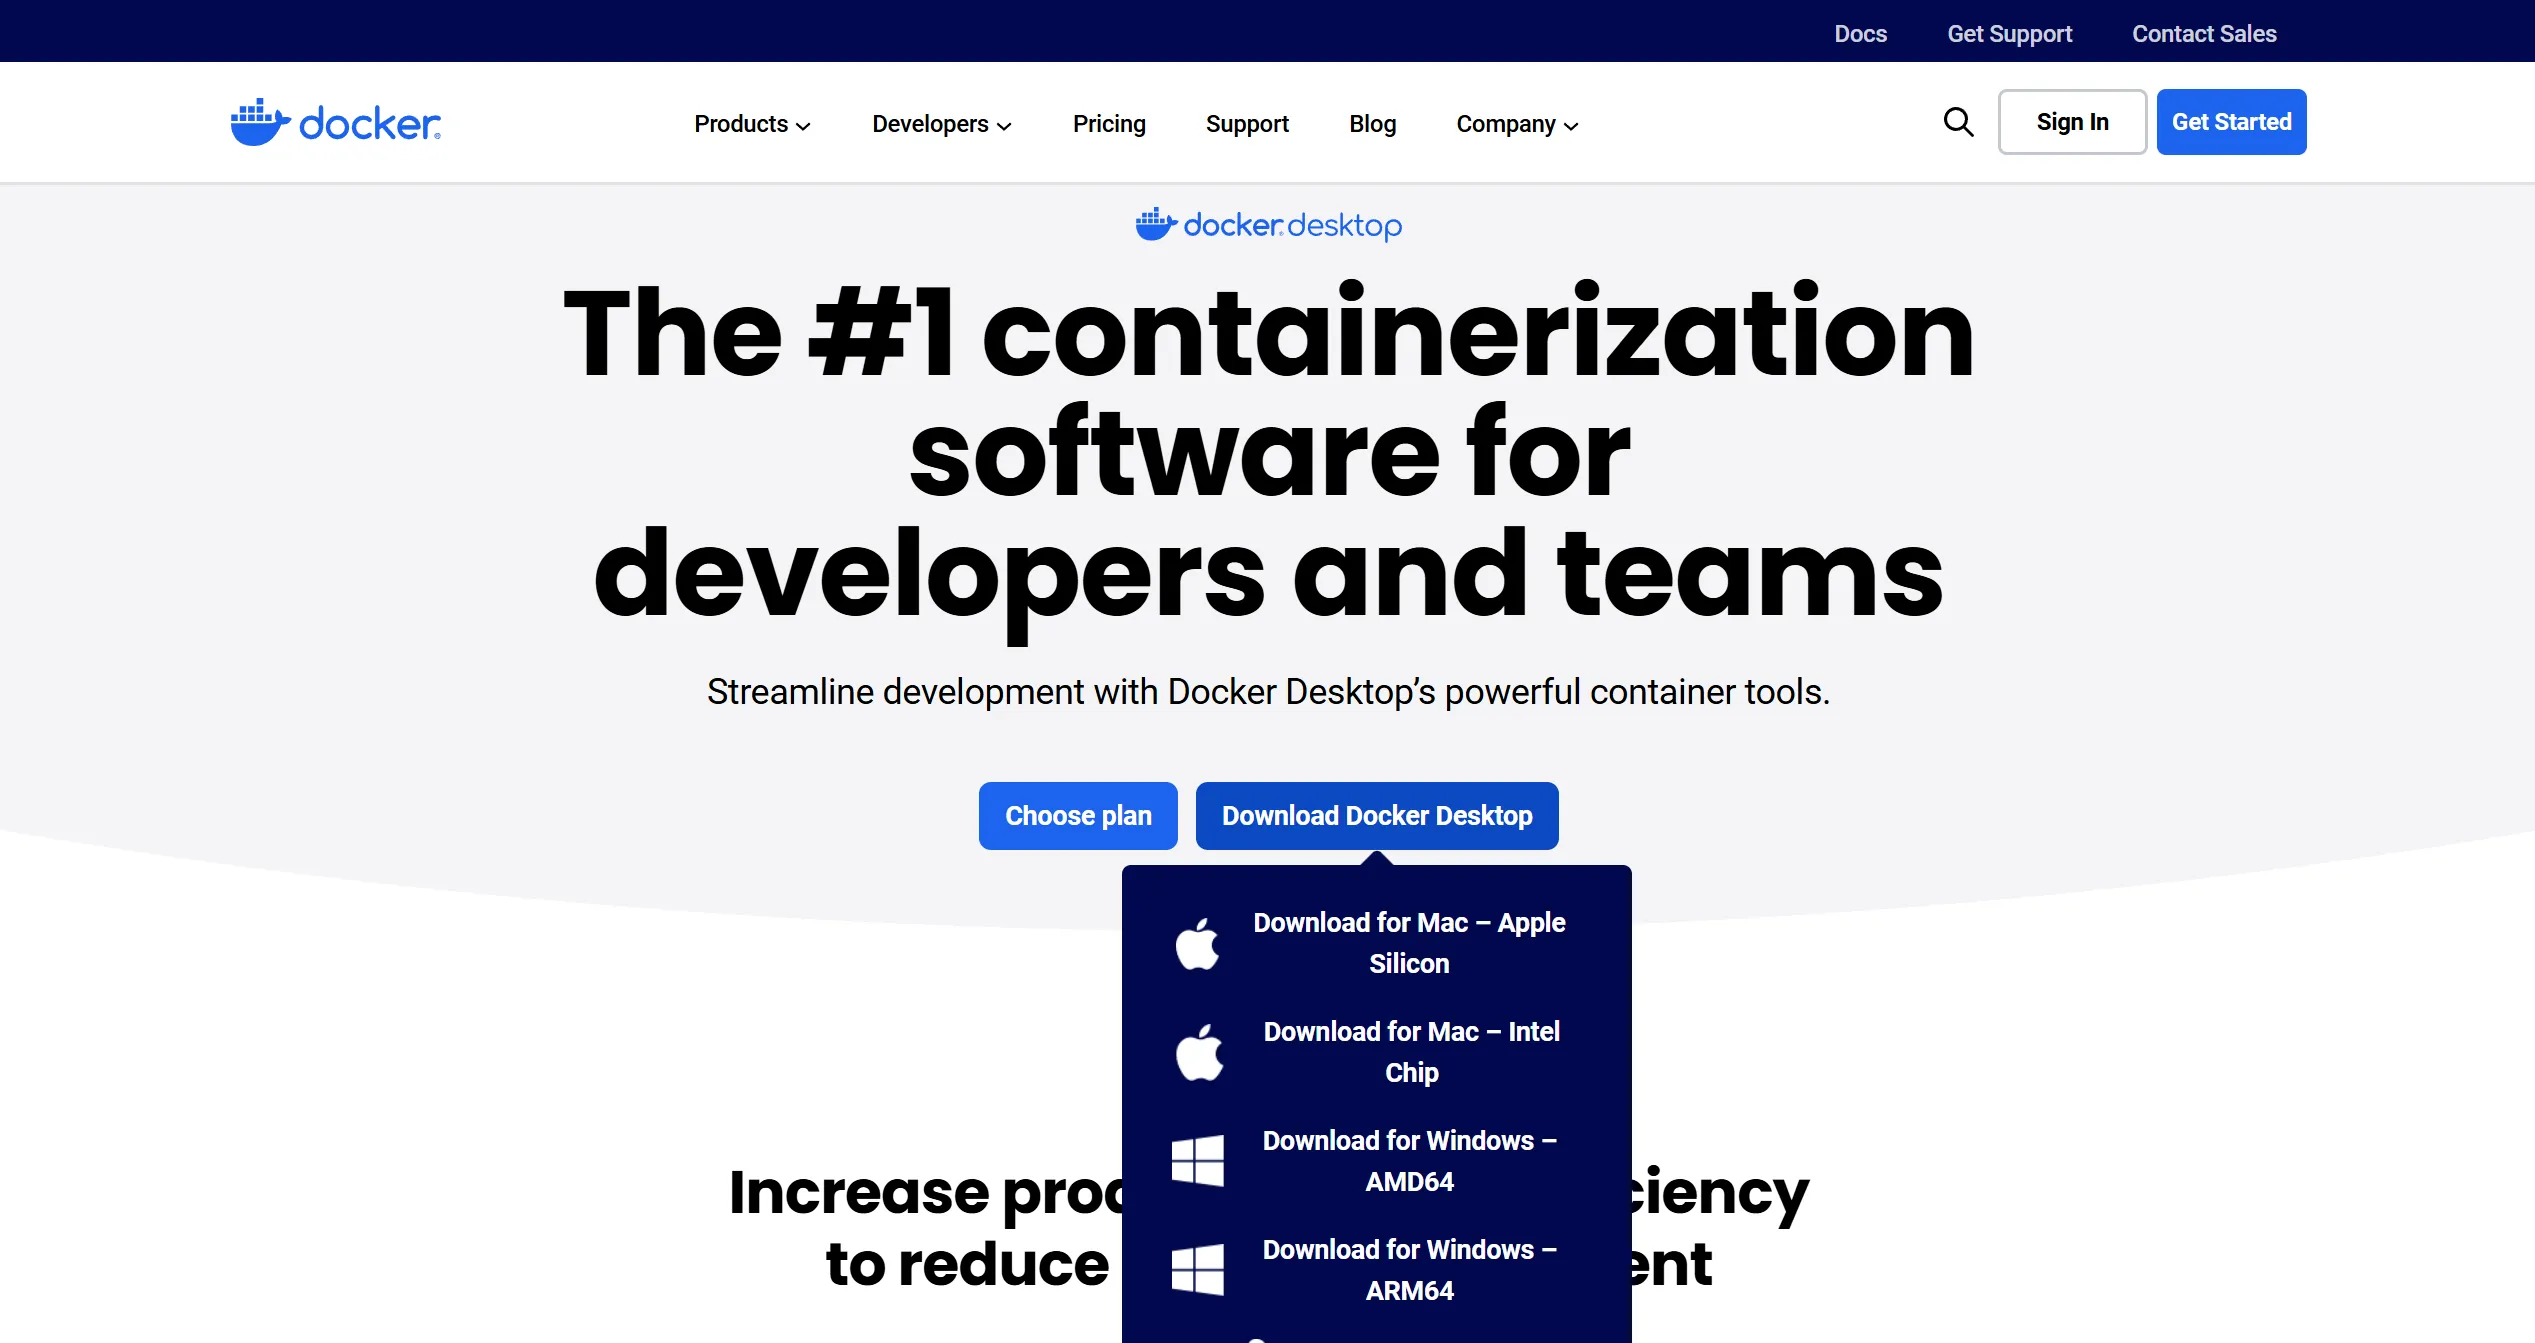
1. 安装 Docker Desktop
首先前往 Docker Desktop 官网 下载对应电脑系统的软件版本进行安装。
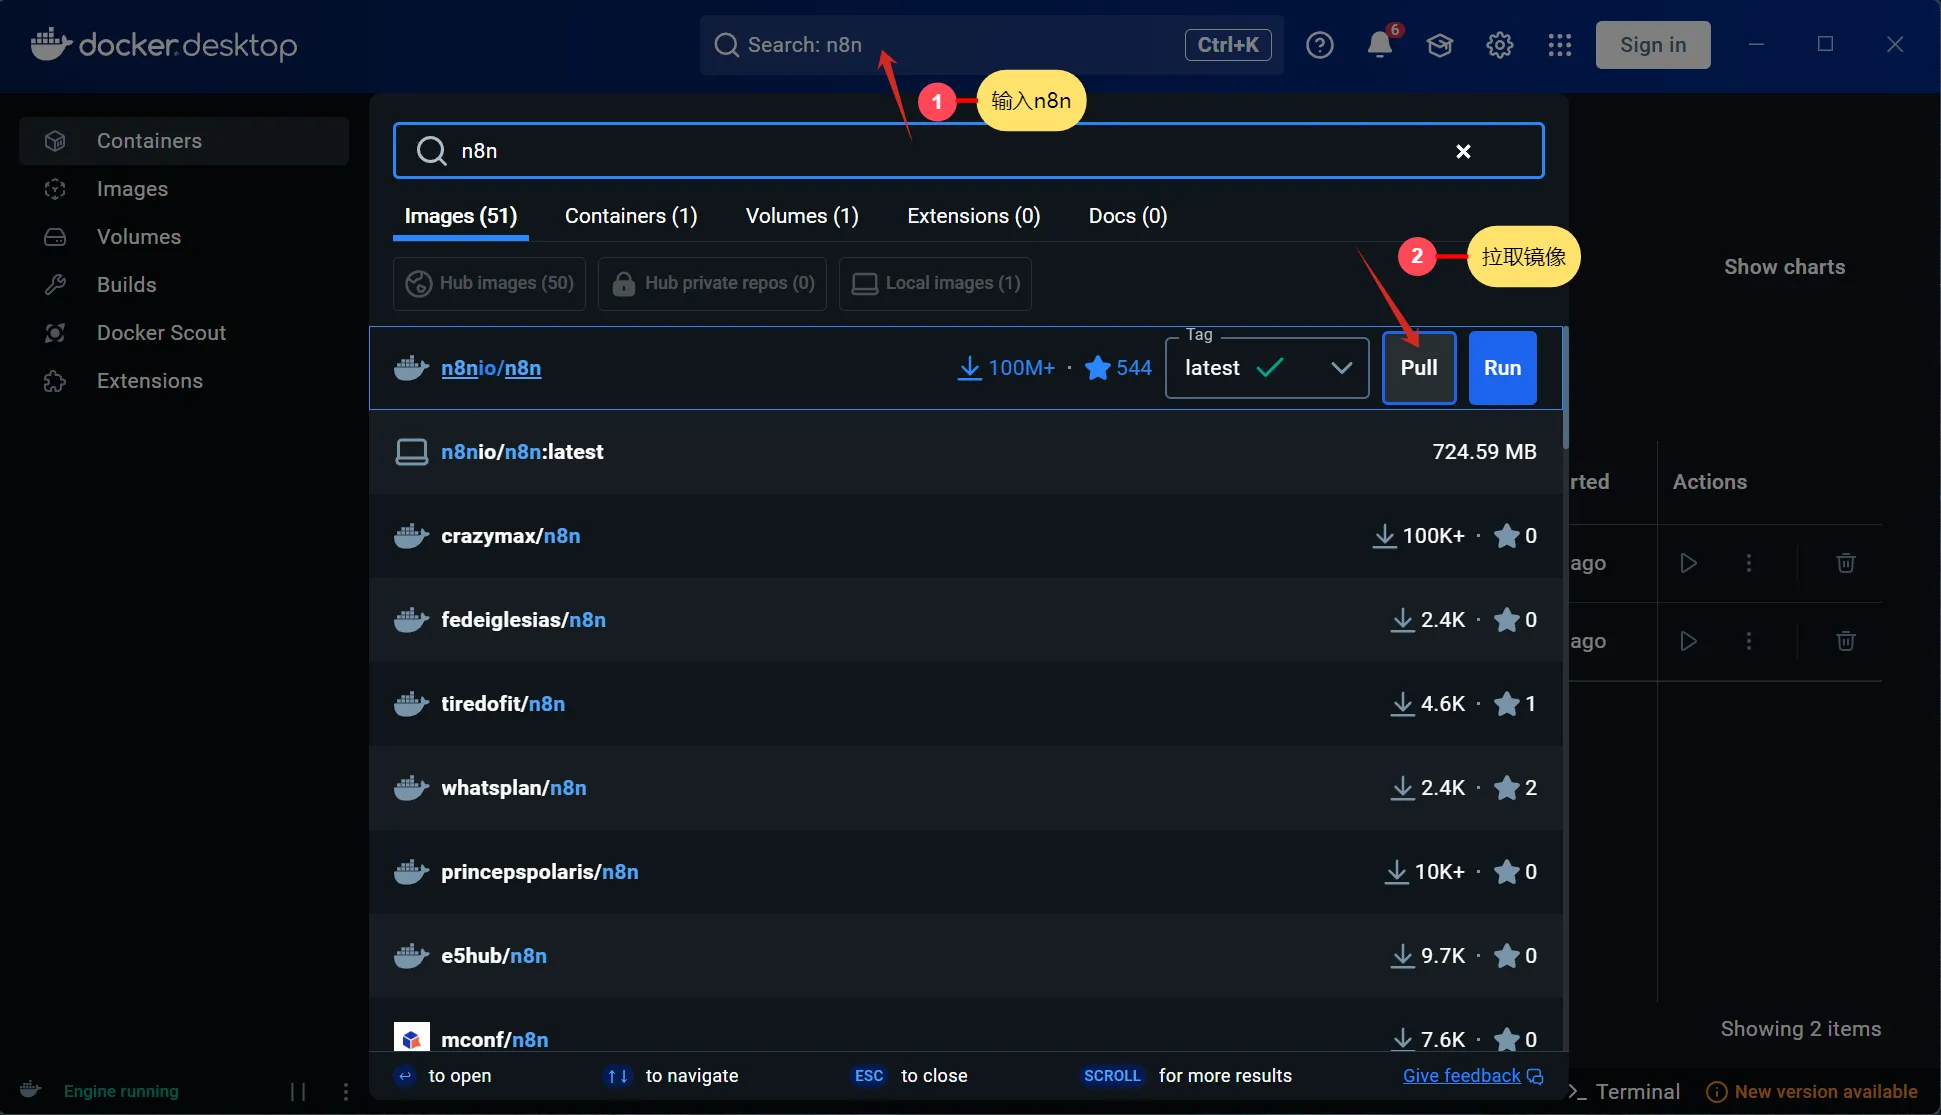
2. 在 Docker Desktop 拉取 n8n 镜像
在 Docker Desktop 中,直接在搜索框搜索 “n8n”,点击 pull 按钮拉取镜像。
3. 配置 n8n 容器
拉取完成后,在 Docker Desktop 的 Images 栏目中就会出现对应的 n8n 镜像。点击镜像旁边的小三角启动,初次启动需要配置名称和端口,按照图示填写即可,主要包含:
- 容器名称 (Container name)
- 容器端口 (Container port)
- 挂载路径 (Volumes)
- 注意
Volumes最好也填写上对应的路径,这一步是将 n8n 用于存储文件、数据、凭证等内容的目录映射到 Docker 之外。Docker 是数据和程序分离的部署方案,如果不做这一步,下次升级 n8n 的时候,你的数据就会被清空。 - 配置完成后点击右下角的 Run 按钮启动容器

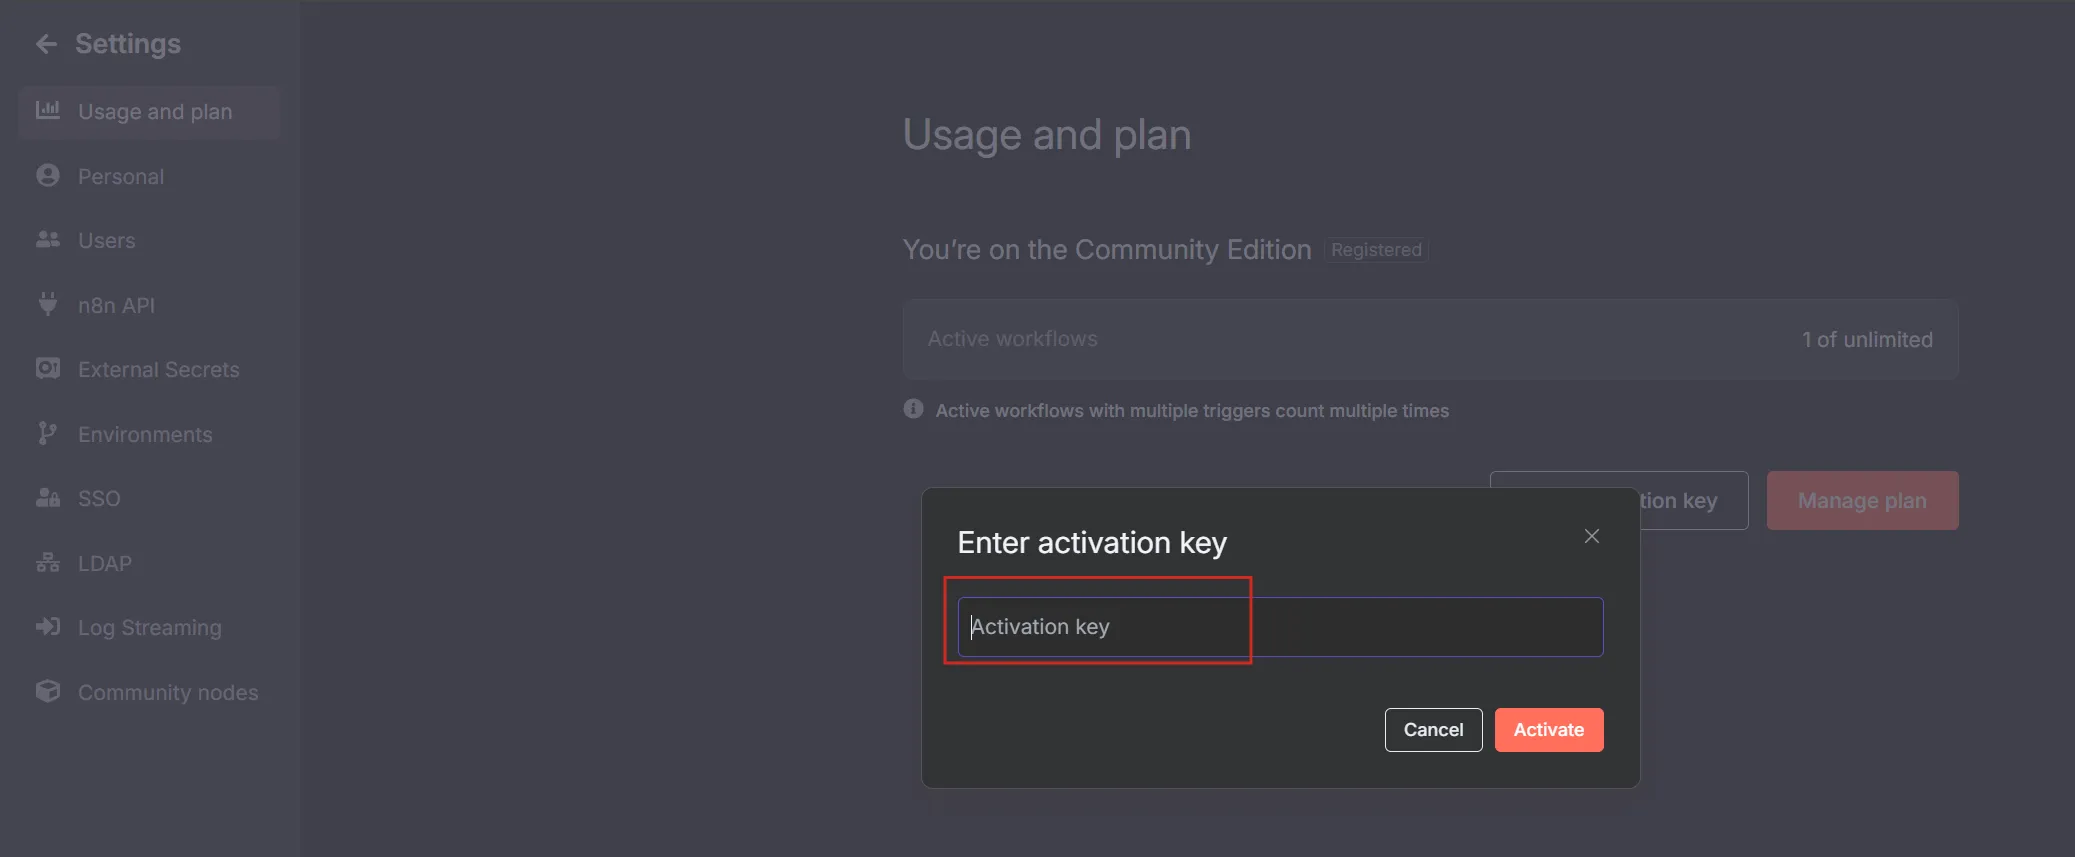
注册并激活 n8n 账户
初次启动需要注册账户,填写对应信息即可。

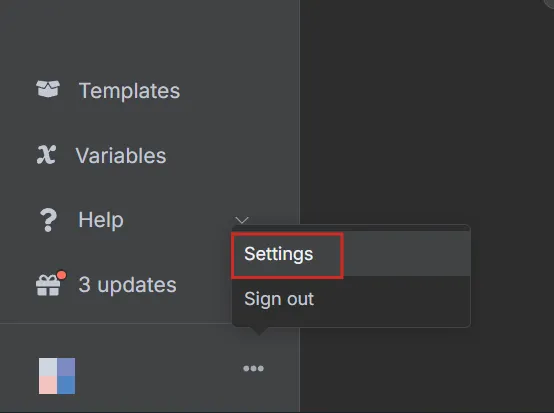
注册完成后进入 n8n 主页,记得点击左下角的三个小点进入 设置页面 激活账户。
然后通过邮箱获取对应的 Key 输入激活即可无限制使用。